You type a name in a lovely script font, send it to the mat, and the Cricut cuts every letter as a separate piece. The joins that looked connected on screen fall apart in the weeding tray, and a gift for Christmas morning turns into a pile of vinyl confetti.
The fix is the Weld tool, plus two or three small adjustments before you press it. This guide walks through the whole process in Cricut Design Space, explains why some script fonts weld cleanly and others fight you, and shows four fonts from our catalogue that behave well on a cutting mat.
The short version
- Install the font on your computer, then restart Design Space.
- Add your text with the Text tool and pick the font from the System fonts list.
- Tighten Letter Space until every letter overlaps the next one.
- Duplicate the text layer and hide the copy.
- Select the visible text and choose Combine > Weld at the bottom of the Layers panel.
- Zoom in and check for gaps, stray dots or cut lines inside the word.
Why script fonts cut as separate letters
A font file stores every letter as its own outline. When you type a word, the letters sit side by side, and in a connected script they overlap slightly so the eye reads one continuous stroke. Your Cricut does not read the word. It reads every outline and cuts each one in full, including the parts hidden underneath the neighbouring letter.
That is why you see faint cut lines across the joins and why a word like “Merry” comes off the backing sheet in five pieces. Welding merges all overlapping outlines into a single shape, so the blade follows only the outside edge.
Step by step: welding a script font in Design Space
1. Install the font and restart Design Space
Design Space uses the fonts installed on your computer. Unzip the font download first. On Windows, right-click the OTF or TTF file and choose Install (or Install for all users). On a Mac, double-click the file and click Install Font in Font Book.
Close Design Space completely and open it again. In the font menu, switch the filter to System fonts and search for the font name. If you skip the restart, the font usually will not appear in the list.
2. Type the text and set the size first
Click Text on the left-hand panel, type your word and choose the font. Resize before you weld, because the overlap between letters scales with the text, and a join that looks fine at 25 cm can open up once you shrink the word to 6 cm for an ornament.
Keep each line as its own text box if you are cutting more than one line. Welding two lines that touch can merge the descenders of the top line into the capitals below, which is rarely what you want.
3. Tighten the letter spacing
With the text selected, find Letter Space in the Text edit bar at the top of the canvas. Lower the number in small steps and watch the joins. You want each connecting stroke to sit clearly over the next letter, not just touch it. A hairline touch often welds into a weak neck that tears when you weed.
If one pair still refuses to meet, open Advanced and choose Ungroup to Letters. You can now nudge individual letters with the arrow keys. Select all of them again before welding.
4. Make a backup copy
Once text is welded, Design Space treats it as a shape. You cannot change the font, fix a typo or adjust spacing any more. Select the text, click Duplicate in the Layers panel, then click the eye icon on the copy to hide it. If you spot a spelling mistake later, you still have an editable version in the same project.
5. Weld
Select the visible text layer. At the bottom of the Layers panel, open Combine and choose Weld. In older versions of Design Space this is a single Weld button in the same spot. The layer name changes, and the letters now share one outline.
If you change your mind straight away, Undo (Ctrl+Z on Windows, Cmd+Z on Mac) reverses it. After you save and close the project, that history is gone, which is why step 4 matters.
6. Inspect before you cut
Zoom in to 200% or more and follow the word from left to right. Look for three things: thin slivers where two strokes nearly overlapped, tiny enclosed specks inside loops, and joins that are narrower than the rest of the stroke.
Weld, Attach or Group: which one you need
These three get mixed up all the time. Group only keeps layers together while you move and resize them on the canvas. Attach keeps pieces in the same position on the mat, but the machine still cuts every outline. Weld is the only one that changes the cut path itself.
For a script word, weld the letters. If you then want the word placed in a fixed position relative to something else, such as a snowflake on the same sheet of vinyl, attach the welded word to that shape.
Four script fonts that weld cleanly
Not every script is equally friendly to a blade. Heavier strokes and generous overlaps weld into sturdy shapes; very thin monolines need more size and more care. Here are four from our catalogue, from easiest to most delicate.
Dearest

Dearest is a bold, slightly slanted brush script with thick downstrokes and loose, natural joins. The strokes are wide enough that the overlaps between letters are easy to see on the canvas, so you rarely need to nudge individual letters.
It is a good first font for names on tumblers, tote bags and wooden signs. For heat transfer vinyl on a T-shirt, a word around 20 to 25 cm wide keeps the brush texture readable without fragile edges. See Dearest
British Times

British Times pairs heavy, rounded strokes with tall capitals and open loops. The weight is consistent from letter to letter, which means the welded word comes out as one solid shape with very few thin necks.
Use it where the word needs to read from across a room: a family name on a door sign or a large decal on a storage box. Tip: its loops are big, so check the counters of letters like e and l after welding and make sure no tiny piece is trapped inside. See British Times
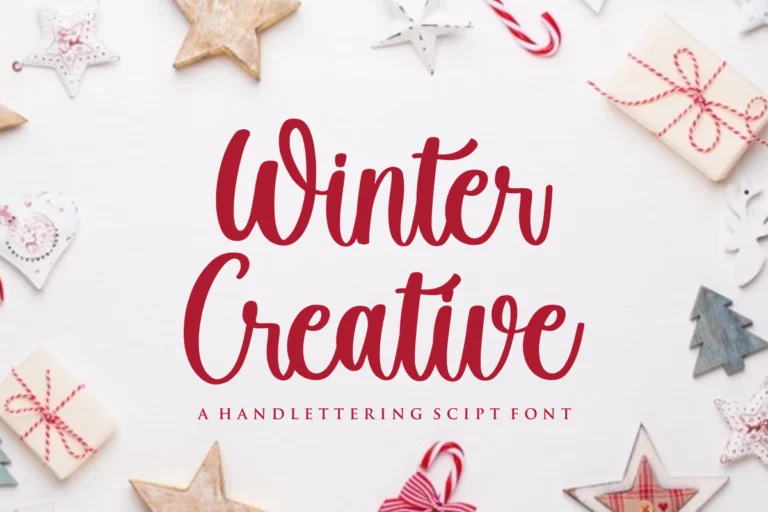
Winter Creative
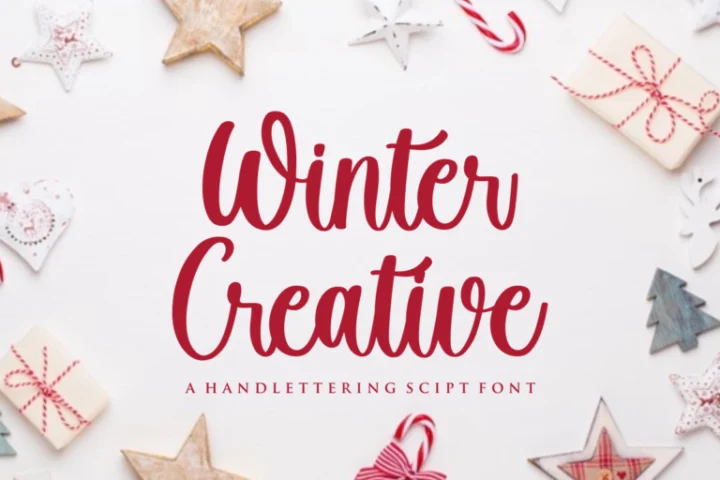
Winter Creative is a rounded hand-lettering script with even strokes and a bouncy baseline. The letters are compact and sit close together, so a small Letter Space reduction is usually all it takes to get clean overlaps.
It suits seasonal projects right now: ornament names, gift tags, stocking cuffs and “Merry Christmas” banners. Because the baseline bounces, check that descenders on letters like y and g do not collide with the line below when you stack two lines. See Winter Creative
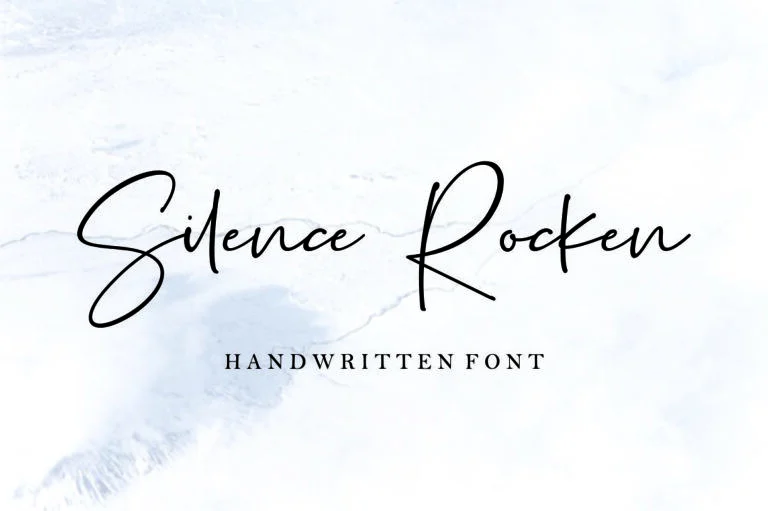
Silence Rocken
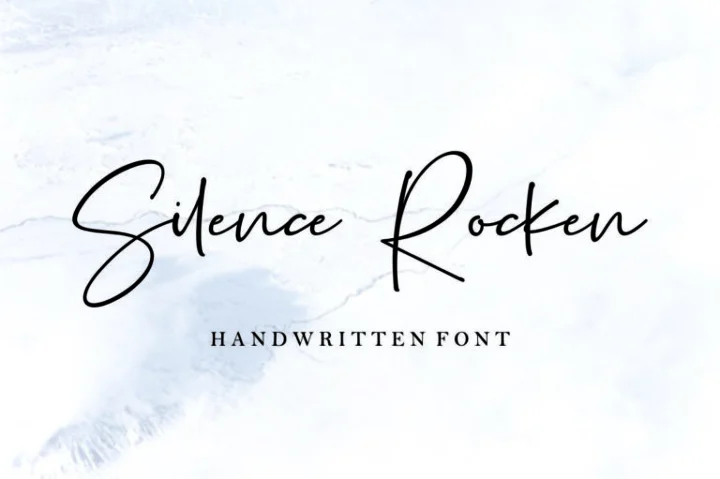
Silence Rocken is a fine, fast signature script with long entry strokes and a light monoline. It looks elegant on a wedding sign or a mirror decal, but thin strokes are the hardest thing a cutting machine handles.
Weld it at a large size, around 30 cm wide or more for adhesive vinyl, and use a fresh blade. At smaller sizes it works better as a Draw layer with a Cricut pen than as a cut. As a rule of thumb, if the thinnest stroke measures less than about 1 mm at final size, expect weeding to be slow. See Silence Rocken
How to tell if a script font will weld well
Run these three quick tests before you commit a whole sheet of vinyl.
- The overlap test. Type the word, select it and zoom in. If the connecting strokes clearly sit over the next letter at default spacing, welding will be easy. If they barely touch, plan to adjust spacing letter by letter.
- The thinnest stroke test. Measure the thinnest part of a letter at your final size with the ruler or by drawing a small square next to it. Under roughly 1 mm, go bigger or switch to a bolder font.
- The scrap test. Cut one short word on a scrap piece of the same material.
Common welding problems and fixes
The dots and crosses disappeared. They did not overlap anything, so they stayed as separate pieces. That is normal. Attach them to the welded word so they keep their position on the mat.
A letter has a solid blob where the loop should be. Two strokes overlapped inside the loop and the hole filled in. Undo, increase Letter Space slightly for that pair and weld again.
Swashes and alternates do not show up. Design Space does not offer an OpenType alternates menu. If a font maps its extra glyphs to Unicode characters, you can copy them from Character Map on Windows or Character Viewer on a Mac and paste them into the text box. Check the font’s product page to see what it includes.
If you design in Canva as well, our guide on how to add your own font to Canva covers uploads there (Canva Pro or Teams is required). For seasonal font ideas beyond the four above, see our Christmas fonts collection, and for paper projects read how to use script fonts on wedding invitations.
Licensing your font for Cricut projects
Every Fikryal Studio font has a free personal-use version, which covers your own non-commercial projects: a shirt for yourself, a sign for your home, a gift you are not selling.
If you sell what you make, you need a commercial licence. The Desktop License covers personal and commercial projects, including end products for sale up to 2,000 sales, prints or pieces, and logo use. It does not cover social media content or websites; those need the Monetized Social Media License or the Webfont License.
Dearest, British Times and Silence Rocken have their own licence terms, so check each product page before you sell anything made with them. Full details for every licence are on our licence page.
FAQ
Can I unweld letters in Cricut Design Space?
Only with Undo during the same session. Once you save and reopen the project, the welded shape cannot be split back into editable text. Duplicate and hide your text before welding so you always have an editable copy.
Why are my cursive letters not connecting on Cricut?
The letters are separate outlines that the machine cuts one by one. Reduce Letter Space until each join overlaps the next letter, then select the text and use Combine > Weld.
Should I weld or attach text in Design Space?
Weld connected script letters so they cut as one piece. Use Attach to hold separate pieces, such as an i-dot or a welded word and a shape, in position on the mat without merging them.